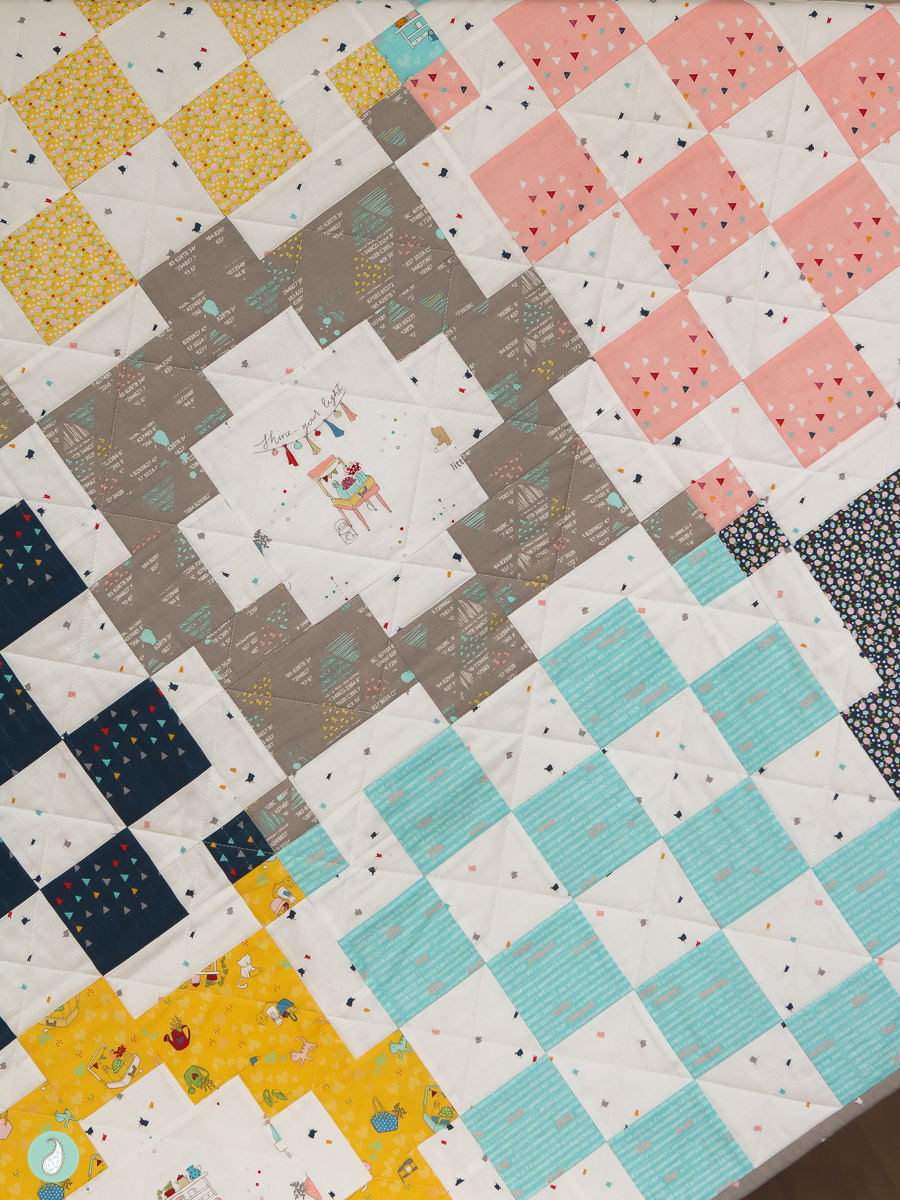
How has your week been? Have you had a chance to make Block A for the Dear Diary quilt?
I hope so, because today I am sharing the instructions for Block B :).

Dear Diary Quilt Notes:
- Read instructions thoroughly before beginning.
- The seam allowance is included in the cutting size given.
- Use a 1/4-inch seam allowance throughout.
- RST = Right Sides Together
- WOF = Width of Fabric
- Press in the direction of the arrows when indicated.
- The yardage specified for this project is based on usable 42-inch wide fabric. If your fabric width is different you may need to adjust the number of strips cut throughout the instructions.
- Unit dimensions are given Width x Height.
- Block A instructions can be found here.
- The step numbering system continues on from the Block A instructions.
Cutting Instructions
From (4) PATTERNED fabrics for BLOCK B:
Cut (1) 3-1/2” x WOF strip. Subcut,
- (3) 3-1/2” squares (E)
- (1) 3-1/2” x 28-1/2” unit (F)
Cut (1) 3-1/2” x WOF strip. Subcut,
- (1) 3-1/2” square (E)
- (4) 2” squares (G)
From BACKGROUND fabric:
Cut (1) 2” x WOF strip. Subcut,
- (16) 2” squares (K)
Cut (4) 3-1/2” x WOF strips. Subcut each strip into,
- (1) 3-1/2” x 28-1/2” unit (L) (4 in total)
- (1) 3-1/2” square (M) (4 in total)
- (4) 3-1/2” x 2” units (N) (16 in total)
From BINDING fabric:
Cut (5) 2-1/2” x WOF strips, or use scrappy leftover pieces.
Piecing Block B
Each BLOCK B requires the following pieces:

- (4) E units
- (1) F unit
- (4) G units
- (1) L unit
- (1) M unit
- (4) K units
- (4) N units
Step 7. Sew together F and L along the long edge. Press toward F. Subcut this unit into (8) 3-1/2” x 6-1/2“ units.

Step 8. Sew together G and K. Press toward K. Make 4
Step 9. Sew together the unit created in step 8 and N as shown. Press toward N. Make 4

Step 10. Referring to the block assembly diagram below, lay out the units created in steps 7-9, as shown. Sew the units together in vertical rows. Press. Sew the rows together. Press.

At this point your block should measure 15-1/2” x 15-1/2”. Make 4 blocks.
Quilt Top Assembly
Step 11. Referring to the quilt assembly diagram below, arrange the blocks in rows. Sew the blocks together in horizontal rows; press the seam allowances in opposite directions from row to row. Sew the rows together; press the seam allowance in the one direction.

QUILT ASSEMBLY DIAGRAM
Step 12. Using a large stitch on your sewing machine, run a tacking stitch approximately 1/8” from the edge of your quilt top along its perimeter to ensure your blocks don’t unravel during the quilting process. At this point your quilt top should measure approximately 45-1/2” square.
Finishing Instructions
Layer and baste the quilt top, batting and backing together.
Quilt as desired. I shared more information on how I quilted my Dear Diary quilt here.
Diagonally piece the 2-1/2-inch binding strips end to end to create one long continuous binding strip. Trim to create a 1/4-inch seam allowance at each join. Press the seams open. Fold the strip in half lengthwise, wrong sides together; press. With raw edges of the binding and quilt top even, stitch with a 1/4-inch seam allowance to the front of the quilt. Mitre the binding at the corners. Bring the folded edge of the binding to the back of the quilt and hand stitch in place.
And just like that, your quilt is complete!!
I hope you enjoyed this simple tutorial on how to make your own Dear Diary quilt.
If you would like a printable PDF version of this pattern you can purchase one for $5AUD in the shop :).
I can’t wait to see what you make. Don’t forget to share your quilt on Instagram using #aquapaisleystudio & #deardiaryquilt, and tag me @aqua_paisley so I can see your work!
Happy stitching!
Samantha


Leave a Reply